


We are back this week with another D.I.Y post and this week we are going to be doing a "how to" on a product for hair. Last week, I did a face scrub and so I thought that we would do something involving hair this week. Since it is summer and summer hair is in, instantly you should think of beach waves. For many, they need a little help making their hair "beach like." That is when sea salt spray can come to the rescue and safe the day. There are endless sea salt sprays in nearly every store and work just great. I even talked about which one I use in a previous post talking about my June Favorites. But sometimes we just cant afford some products or sometimes you just don't want to put "unnatural or harmful" products in your hair. Which is absolutely fine, I am the same way myself. So today we are doing a natural, at home sea salt spray. So lets begin!!

Ingredients
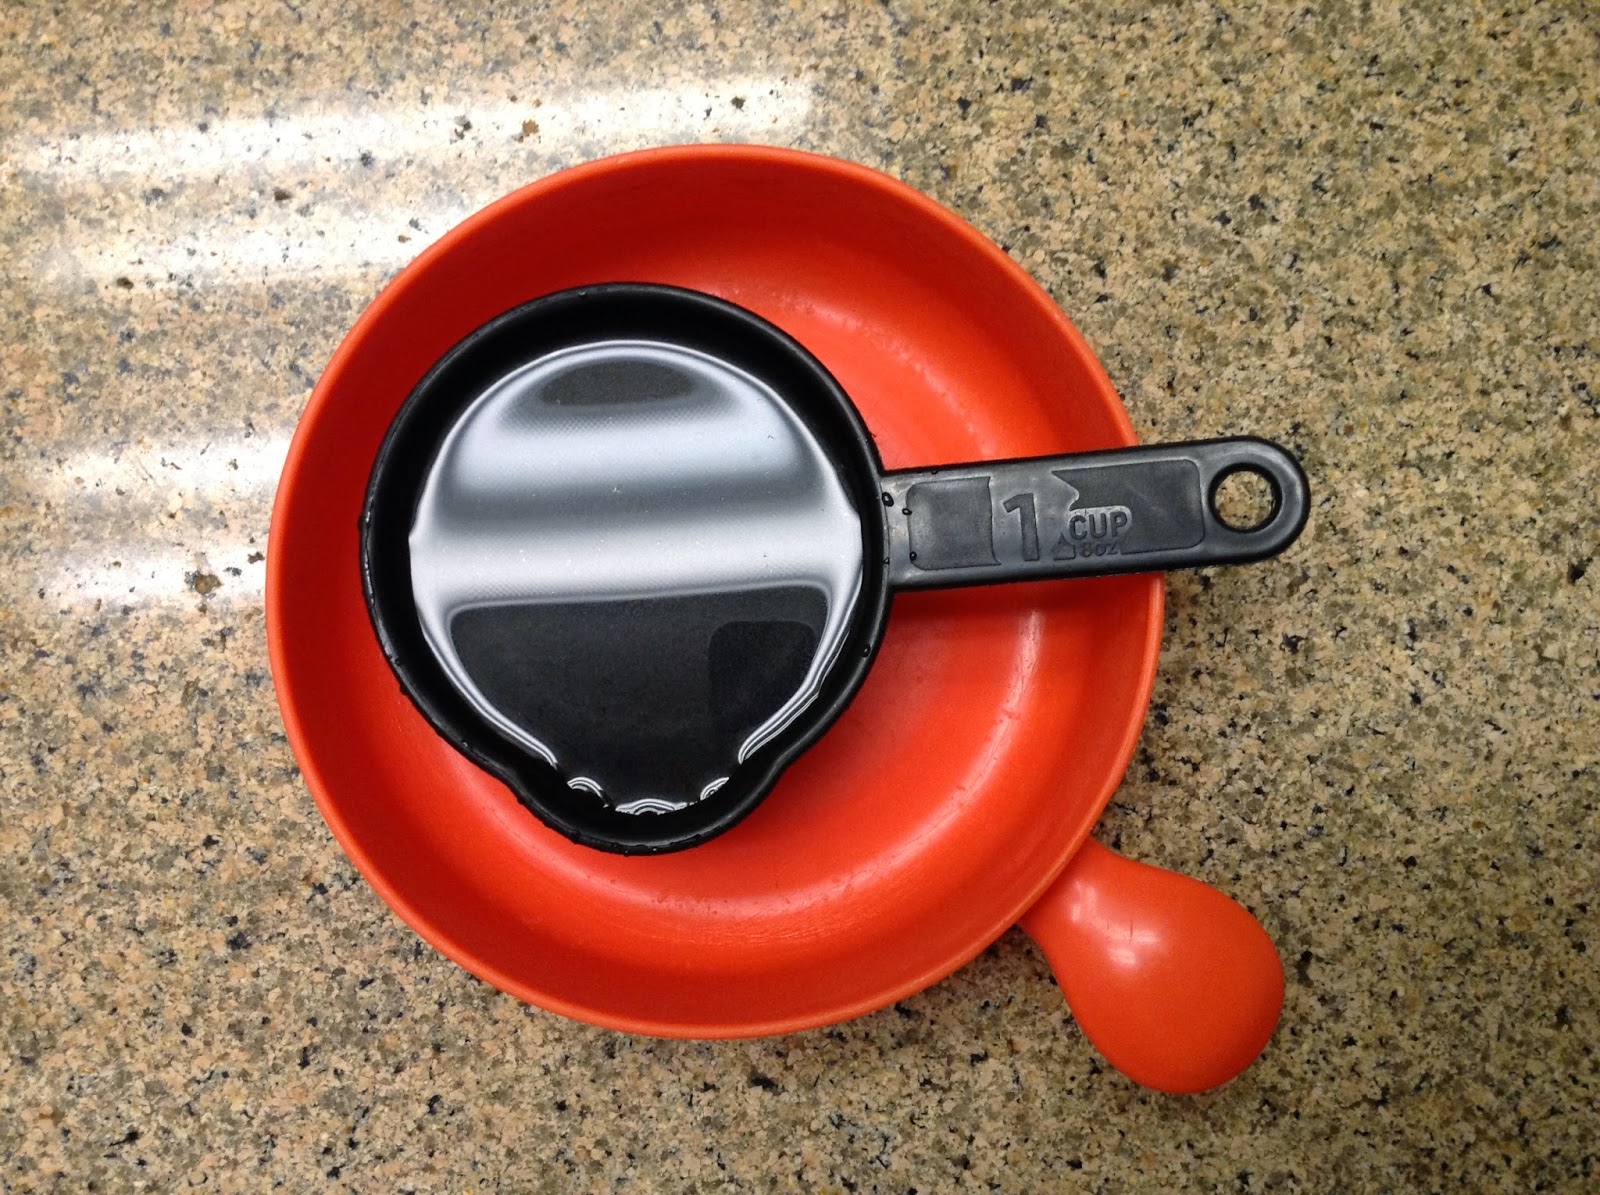
1 cup of boiling water
1 teaspoon of sea salt or regular salt
1 spray bottle to put spray in (I will discuss what to do for different sizes)
1/2 a teaspoon of conditioner of your choice
1 teaspoon aloe vera gel
Optional:
essential oils
Step One
First you need to boil the cup of water. As you can see in the picture above, I am filling a small bottle. That is why I am only boiling a cup of water. If you are using a bigger bottle, I would boil at least two cups of water. Don't add anything to the water, just let the water boil on its own.
Step Two
After the water has come to a boil, you need to add a teaspoon of salt for each cup of water. Since I am using one cup of water, I need to add one teaspoon of salt. You can use regular or sea salt, which ever you have around. Mix this into the water until the salt has dissolved.
Once you get the salt dissolved, you now need to add the 1/2 a teaspoon of conditioner of your choice and the aloe vera gel into the water. I am currently using Redken Blonde Glam Conditioner, which unfortunately has been recently discontinued. But there is a new and better conditioner called Blonde Idol Custom-Tone Conditioner Gold for Warm Blondes. This conditioner is made more for people with blonde hair that is dyed, like myself. It helps to keep the color lasting longer and brighter then regular conditioners. But if your hair is not blond, I suggest conditioners like L’Oréal Paris EverPure Sulfate-Free Volume Conditioner, for fine hair and Garnier Fructis’s Triple Nutrition Fortifying Cream Conditioner, for damaged hair. But if you are looking for conditioner that gives your hair that summer coconut smell, then Desert Essence Coconut Conditioner is the best one for you. As far as the aloe vers gel, I personally use Fruit of the Earth 100% Aloe Vera, which I think works great.
I did not use the Aloe Vera Gel this time because I recently ran out of it, but normally when I make this spray, I add it. Now you just thoroughly mix everything together. The final product looks a little weird but trust me, its all good. It kinda looks disgusting but its a lot better in your hair, believe me.

Step Three
After the water has completly cooled, you will now be able to add your new spray into the bottle you are planning to use. If you are choosing to, you can now add essential oils. I suggest Chamomile essential oil, which is great for brittle dry hair. Or Lavender essential oil, good for weak hair and hair loss. Lemon essential oil, which is good for oily hair. Myrrh essential oil, nice for dry and sensitive hair and scalp. You can also use Peppermint essential oil, which helps weak, heat damaged hair. Lastly, Tea Tree Oil, helps with dull hair and flaky scalp. But not all at ones, maybe two at the most. You need to add 1/2 a teaspoon for every cup of water. I personally don't add any of these oils to my hair in this spray. I do it separately about once a week. But you don't have to add any oils if you do not want to.
And it is as simple as that. This is a really simple spray that can help to add a lot of texture and volume to your hair. I have noticed a difference in my hair that is usually thin and very straight. When I add this into my hair, it feels thicker and as a little bit more "life" to it. Well that is all for this week my friends. I hope you found this "how to" post helpful. Let me know if you try it yourself! Until next time my friends,
<3
Ingredients
1 cup of boiling water
1 teaspoon of sea salt or regular salt
1 spray bottle to put spray in (I will discuss what to do for different sizes)
1/2 a teaspoon of conditioner of your choice
1 teaspoon aloe vera gel
Optional:
essential oils
Step One
First you need to boil the cup of water. As you can see in the picture above, I am filling a small bottle. That is why I am only boiling a cup of water. If you are using a bigger bottle, I would boil at least two cups of water. Don't add anything to the water, just let the water boil on its own.
After the water has come to a boil, you need to add a teaspoon of salt for each cup of water. Since I am using one cup of water, I need to add one teaspoon of salt. You can use regular or sea salt, which ever you have around. Mix this into the water until the salt has dissolved.
 |  |
Once you get the salt dissolved, you now need to add the 1/2 a teaspoon of conditioner of your choice and the aloe vera gel into the water. I am currently using Redken Blonde Glam Conditioner, which unfortunately has been recently discontinued. But there is a new and better conditioner called Blonde Idol Custom-Tone Conditioner Gold for Warm Blondes. This conditioner is made more for people with blonde hair that is dyed, like myself. It helps to keep the color lasting longer and brighter then regular conditioners. But if your hair is not blond, I suggest conditioners like L’Oréal Paris EverPure Sulfate-Free Volume Conditioner, for fine hair and Garnier Fructis’s Triple Nutrition Fortifying Cream Conditioner, for damaged hair. But if you are looking for conditioner that gives your hair that summer coconut smell, then Desert Essence Coconut Conditioner is the best one for you. As far as the aloe vers gel, I personally use Fruit of the Earth 100% Aloe Vera, which I think works great.

|  |
I did not use the Aloe Vera Gel this time because I recently ran out of it, but normally when I make this spray, I add it. Now you just thoroughly mix everything together. The final product looks a little weird but trust me, its all good. It kinda looks disgusting but its a lot better in your hair, believe me.
Step Three
After the water has completly cooled, you will now be able to add your new spray into the bottle you are planning to use. If you are choosing to, you can now add essential oils. I suggest Chamomile essential oil, which is great for brittle dry hair. Or Lavender essential oil, good for weak hair and hair loss. Lemon essential oil, which is good for oily hair. Myrrh essential oil, nice for dry and sensitive hair and scalp. You can also use Peppermint essential oil, which helps weak, heat damaged hair. Lastly, Tea Tree Oil, helps with dull hair and flaky scalp. But not all at ones, maybe two at the most. You need to add 1/2 a teaspoon for every cup of water. I personally don't add any of these oils to my hair in this spray. I do it separately about once a week. But you don't have to add any oils if you do not want to.
 |  |
And it is as simple as that. This is a really simple spray that can help to add a lot of texture and volume to your hair. I have noticed a difference in my hair that is usually thin and very straight. When I add this into my hair, it feels thicker and as a little bit more "life" to it. Well that is all for this week my friends. I hope you found this "how to" post helpful. Let me know if you try it yourself! Until next time my friends,
<3
I am definitely going to try this out, looks simple and easy and it actually works! I've just found your blog, it's so cute! How can I follow you? Would mean a lot if you could check out my blog as well! :)
ReplyDeleteSneha :)
www.sleepysneha.blogspot.com
Thank you so much!! I hope you like it and works as well for you as it does for me. I hope I can see how it comes out. I also love your blog, its really cute! I'm so sorry that the follow button hasn't been working lately but I just fixed it. Sorry about that. But thank you so much for stopping by and being so kind.
Delete<3